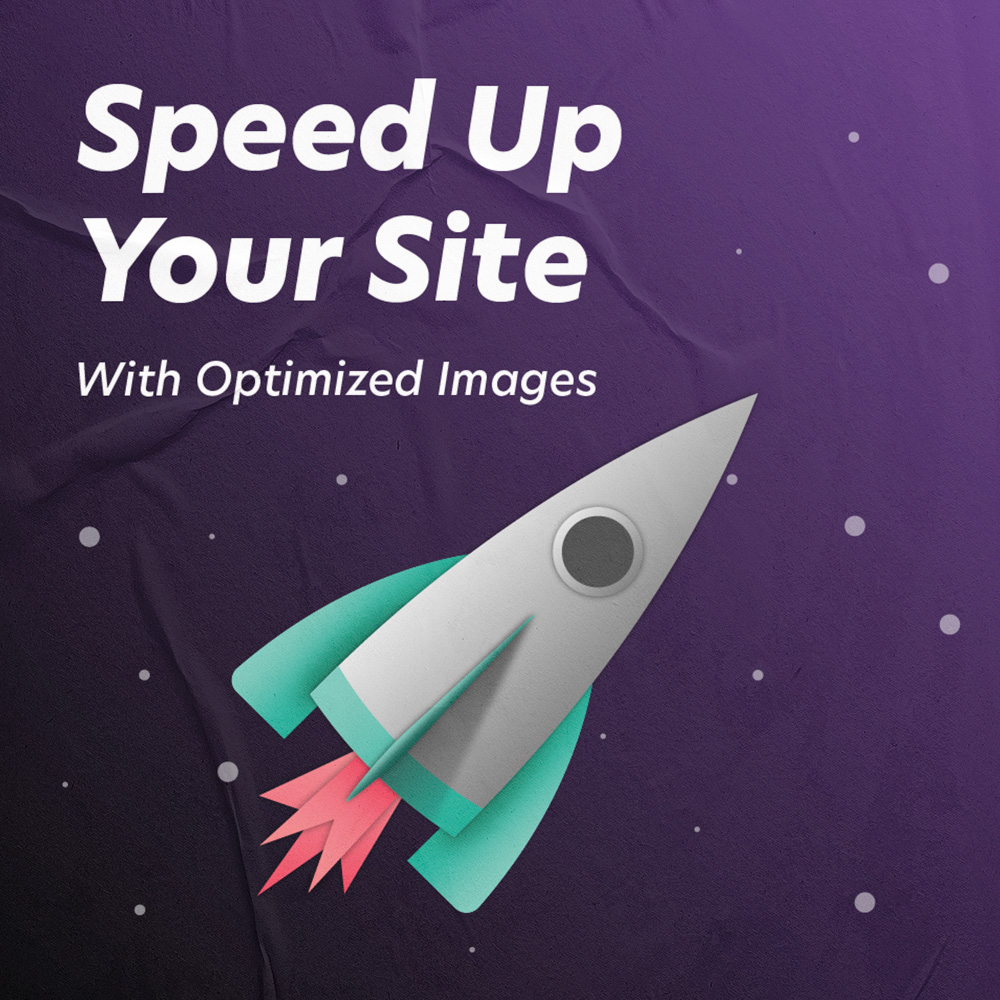
How to Optimize Images for Web (Quickly and Easily)
Weston Huggins | 05/05/23
Weston Huggins | 05/05/23
Want to optimize images for web but don’t want to spend the time and money on Photoshop? In this tutorial I will show you how to optimize images for web in a fast, easy, and free way.
A major factor in getting your pages to rank on Google is page speed and performance. Often, the single biggest contributor to poor page performance is large image files. If you are using a WordPress website, the best option can sometimes be to use an image optimization plugin to optimize images. This will do the heavy lifting for you. But if you don’t want a plugin or want full control over optimization, continue reading for a solid optimization strategy.
Using Google’s Lighthouse and PageSpeed Insights tools, I’ve been optimizing my agency’s website as well as client sites. These tools will give you a score for your website’s performance (as well as accessibility, best practices, and SEO). Whether or not you find that large images are contributing to poor page performance, it is generally a good idea to have optimized images regardless.
The approach I am taking in this guide is outlined in this Reddit post, so credit for this method goes to the author of that post.
The process involves two simple steps of first compressing the image using compressor.io then converting it to webp format using cloudconvert.com. No need for Photoshop or any other special program that you need to download and learn. I most often do this starting with jpg and png files, as they are most common and I usually do not need to compress svg files as they tend to be much smaller to begin with.
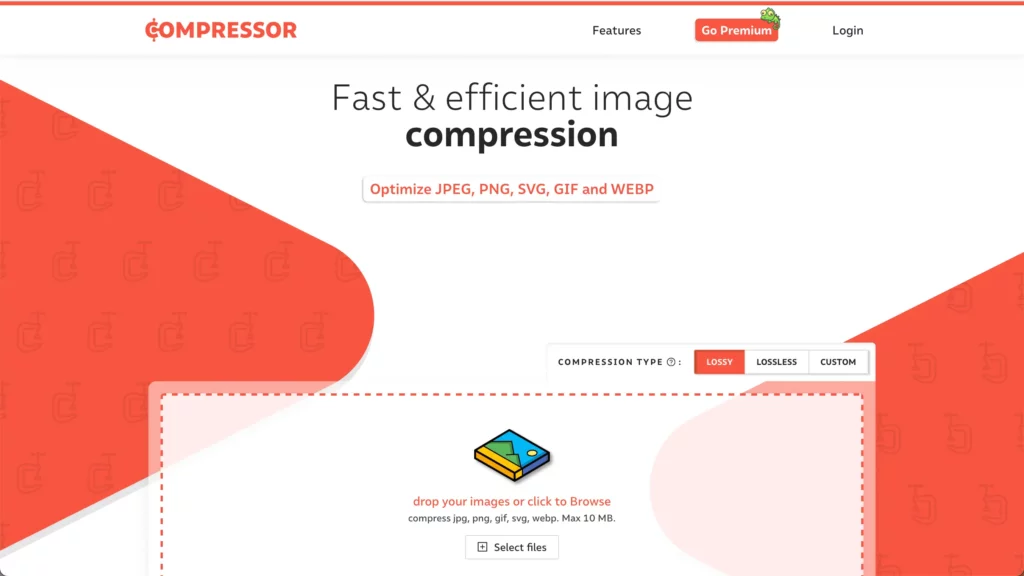
To start, open compressor.io in your browser and upload the images you would like to optimize. After they are finished compressing, you will be able to see how much space you saved and even compare the original images to the compressed ones.
Once you download these you can move on to the next step.
Next, convert your images by going to cloudconvert.com and uploading the ones you just compressed. At the top, choose “convert to” and select “WEBP”.
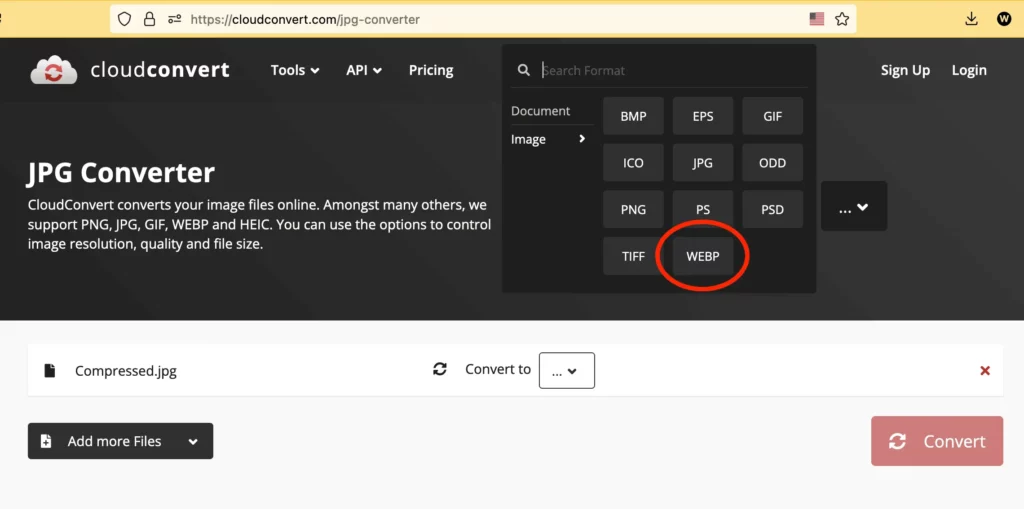
*Note that you may need to create an account, with which you can convert a number of photos per day for free. I recommend paying if you plan to convert lots of images as this is a very important part of optimizing your site.
Click the big convert button in the bottom right and download them when finished. Now your images are optimized for web!
Thanks for reading and I hope this tutorial will help you speed up your site!
 Reopen Form